➕ Add a New Rule
Let's create your first Auto-Schedule Rule! The bot will guide you through each step.
Step 1: Open the Rule Builder
- Open the bot and type
/config - Tap ⚡ Auto-Schedule Rules
- Tap ➕ Add Scheduling Rule
You'll see the rule builder screen:

Step 2: Choose What to Filter
Pick what aspect of the ride you want to filter:
- 💰 Price - How much the ride pays
- ⏱️ Hourly Rate - How much you earn per hour
- 📏 Mile Rate - How much you earn per mile
- 🕒 Duration - How long the ride takes
- 📍 Miles - How far you'll drive
- ⏰ Time - What time of day
- 📅 Days - What day of the week
Tap the one you want to start with.
Step 3: Choose How to Compare
Now pick how you want to compare:
For numbers (Price, Hourly Rate, Mile Rate, Duration, Miles):
- >= - At least this much (most common)
- <= - At most this much
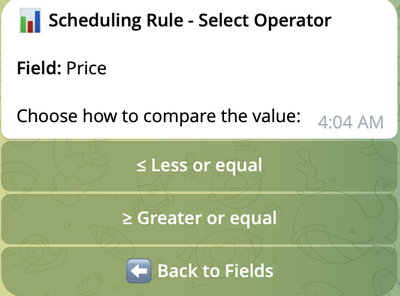
Note: this dialog is not available for Time and Days fields.
Step 4: Enter Your Value
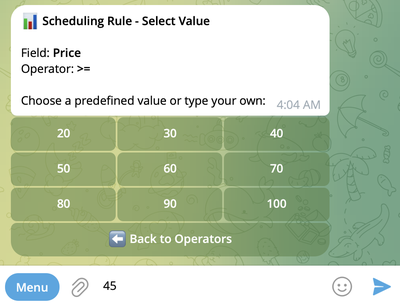
For Numbers (Price, Hourly Rate, Mile Rate, Duration, Miles)
You can pick up one of the predefined values or enter your own, e.g.
- Price: Type the dollar amount (e.g.,
30or45.50) - Hourly Rate: Type the rate per hour (e.g.,
40or55.25) - Mile Rate: Type the rate per mile (e.g.,
1or1.3) - Duration: Type minutes (e.g.,
15,30,60) - Miles: Type miles (e.g.,
5,10.5,20)
For Time
You have 2 options:
-
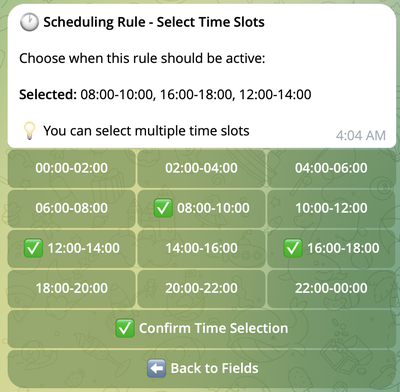
Select predefined time slot(s) - 2-hour intervals:
- Tap hours to select/unselect them
- Selected hours show ✅
- Tap ✅ Confirm Time Selection when you're done
-
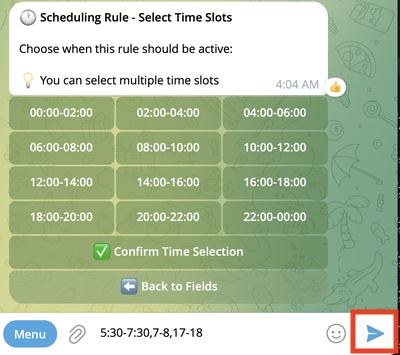
Enter required time intervals manually and hit Send:
For Days
Tap the days you want to include:
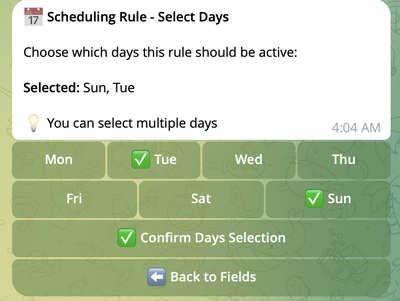
- Tap days to select/unselect them
- Selected days show ✅
- Tap ✅ Confirm Days Selection when you're done
Step 5: Add More Conditions (Optional)
After your first condition, you'll see what you've created so far:
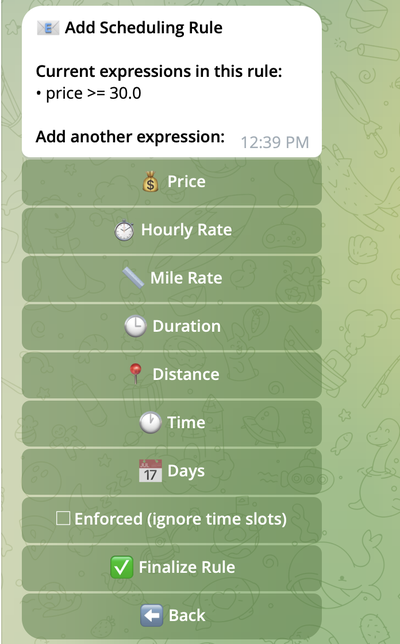
Now you can:
- ➕ Add Another Criterion - Add more conditions to this rule
- ✅ Finalize Rule - You're done, save it!
Want to add more? Tap on another Criterion field and repeat steps 2-4.
Important: When you add multiple conditions to ONE rule, a ride must match ALL of them.
Example: If your rule says Price >= 30.0 AND Duration <= 20, the ride must be:
- At least $30, AND
- No longer than 20 minutes
Both conditions must be true, or the ride won't get booked.
Step 6: Make It Enforced? (Optional)
You might see an Enforced checkbox after adding at least one number field (Price, Hourly Rate, Mile Rate, Duration, Miles):

What does this mean?
- ☐ Unchecked (normal): This rule only works during your scheduled hours
- ✅ Checked (enforced): This rule works 24/7, even when you're not normally working unle4ss you limit the rule by
TimeandDayscriteria.
Example:
- Your normal schedule: Monday-Friday, 9 AM - 5 PM
- You create:
Price >= 100.0and check Enforced - A $120 ride appears at 2 AM Saturday
- Result: It gets booked, even though you're not normally working then
Step 7: Save Your Rule
Happy with your rule? Tap ✅ Finalize Rule.
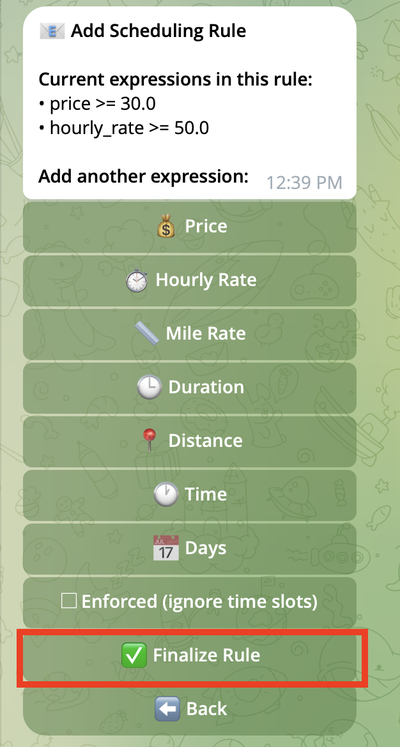
You'll see a confirmation:

Done! Your rule is now active and working.